User Guide
The Lead Service Management solution includes a series of maps and apps that work together to manage and display lead service lines. Below is the user guide for the maps and apps included with Lead Service Management.
Discover lead potential at your address
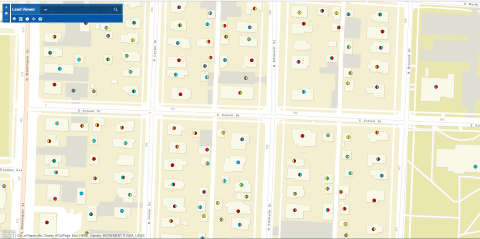
The Lead Viewer application is a public facing application to find out about the potential for lead in service lines. To use the application to learn more about lead potential at an address, complete the following steps:
- Browse to and open the Lead Viewer application. This could be embedded on a utility's website or link sent out through a utility's social media pages.
- If at the location you would like to learn about the potential for lead, click the Current Location button to pan and zoom to your current location.
- Click the point on the structure at the location to open the pop-up.
- The pop-up includes information about the lead potential and other information about the services at the location.
Generate lead reports
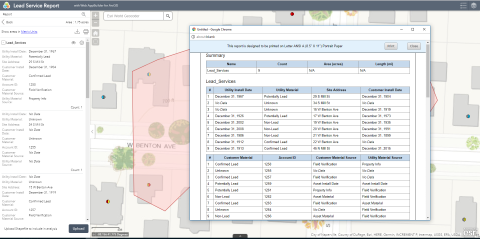
The Lead Report application is an application for a utility to generate reports on the potential for lead for a specific area or their entire service area. To use the application to generate a lead service line report, complete the following steps:
- Sign in to ArcGIS Online.
- Browse to the Lead Report application. From the items details page, click View Application to open the application.
- On the left side of the application, the lead report widget will be opened automatically.
- Define the area for which the lead report will be generated by searching an address, sketching in the area, uploading a shapefile, or entering coordinates.
- When the area of interest is defined, click Report to create the lead report.
- On the Report panel, expand the features drop down to view features included in the report.
- Click the Download icon to download the report as CSV file or file geodatabase.
- Click the Print icon to print out or save a formatted report to PDF.
- Generate reports for other areas or the service area.
Verify in the Field
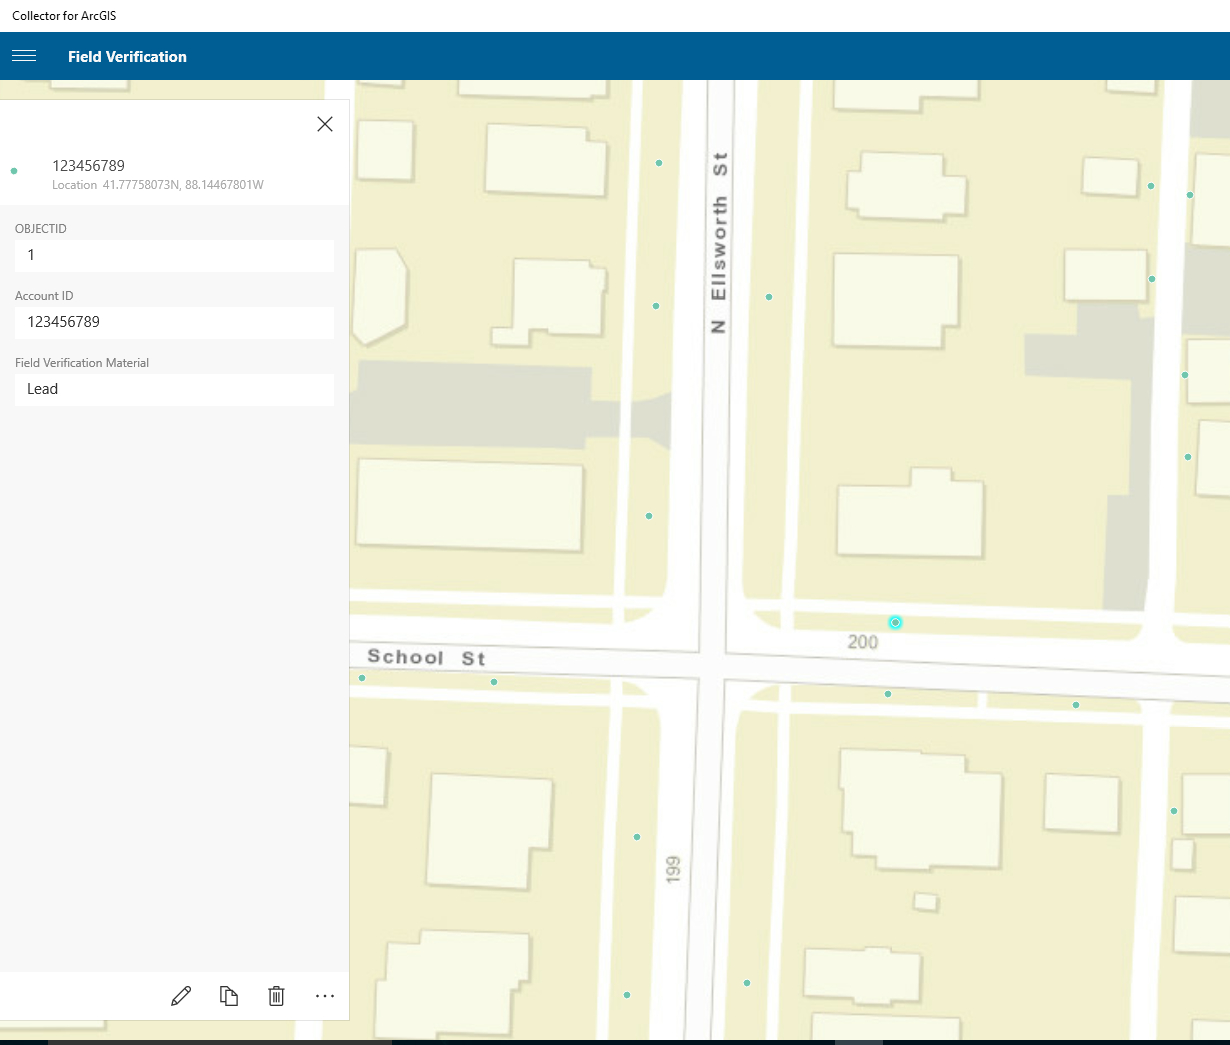
The Field Verification map can be used by field technicians to verify and record the lateral material. To record lateral material in the field, complete the following steps:
- Open ArcGIS Collector and sign in using your ArcGIS organizational account.
- Once signed in, you will be presented with all the maps you have access to. Search for Field Verification to find the Field Verification map.
- Select the Field Verification map's thumbnail to open it. If you have enabled location services, the map will open to your current location.
- Collect a new feature, selecting the Field Verification editing template.
- Update the attributes of the features and be sure to include the Account ID as this field is used when processing the data to join to existing lateral features.
- Browse to the map and add the location of the pipe material verification on the map. If location services is enabled, you can use your current location as the geometry of the point. You can also add the location by tapping the point on the map.
- When you have finished recording the attributes and geometry, click Submit.