Create a Robberies with Firearm map and share it with command staff and patrol officers. Law enforcement professionals can then visualize it on their desktop computers and identify where robberies with forced entry are occurring in your community.
Robberies with Firearm map
To create an ArcGIS Online Robberies with Firearm map, complete the following steps:
- Sign in to your ArcGIS Online organization.
- Create a Command Staff Group for staff in your law enforcement organization.
-
Create a map used to display robberies involving firearms, by completing the following workflow:
- Choose the Light Gray Canvas basemap.
- Add the PoliceBeats and Offenses layer to the map.
- Configure pop-up for the Offenses layer.
- Save the map as Robberies by Forced Entry, then type in tags that describe your map and enter a summary.
-
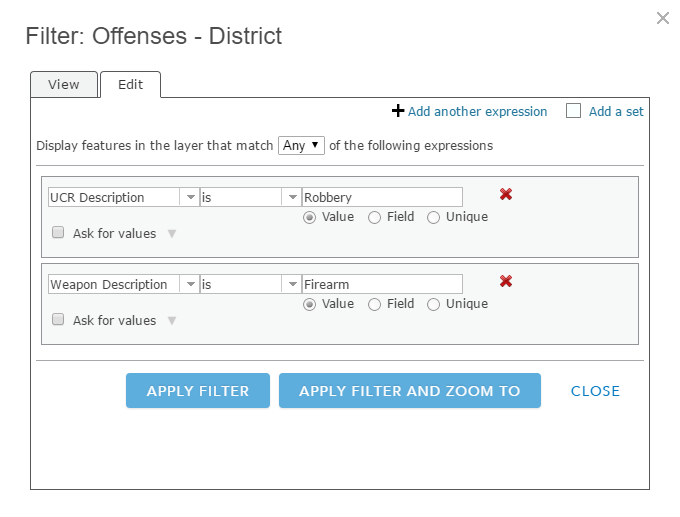
Apply a filter to the Offenses layer, by using the following expressions:
- UCR Description is Robbery
- Weapon Description is Firearm
- Disable Time Animation on the Offenses layer.
- Change the transparency on the Police Beats layer to 75%.
- Create a bookmark for each beat.
- Save the map and share it with your Command Staff group.
- Browse to the Robberies by Forced Entry map and edit the item details.